

Hello. Thanks for
coming by to catch up on Week 2 of The One Room Challenge™!
To refresh, I have chosen to do the eat-in portion of my
kitchen. For the back story,
inspiration, and overall plan, click below to begin at Week
1.
WEEK 1 - Plan & Inspiration
I was playing all coy with you last week, what with it being our first online date and all, only showing you a few small snaps of my kitchen. You know, sort of make a good first impression with my tight spanx-cinched shots so that you couldn’t see the rolls and ugly stretch-marked truth underneath.
I was playing all coy with you last week, what with it being our first online date and all, only showing you a few small snaps of my kitchen. You know, sort of make a good first impression with my tight spanx-cinched shots so that you couldn’t see the rolls and ugly stretch-marked truth underneath.
Well, now that we are on to date numero dos,
it’s time to show you everything, warts and all. Let’s take a look at my kitchen’s various
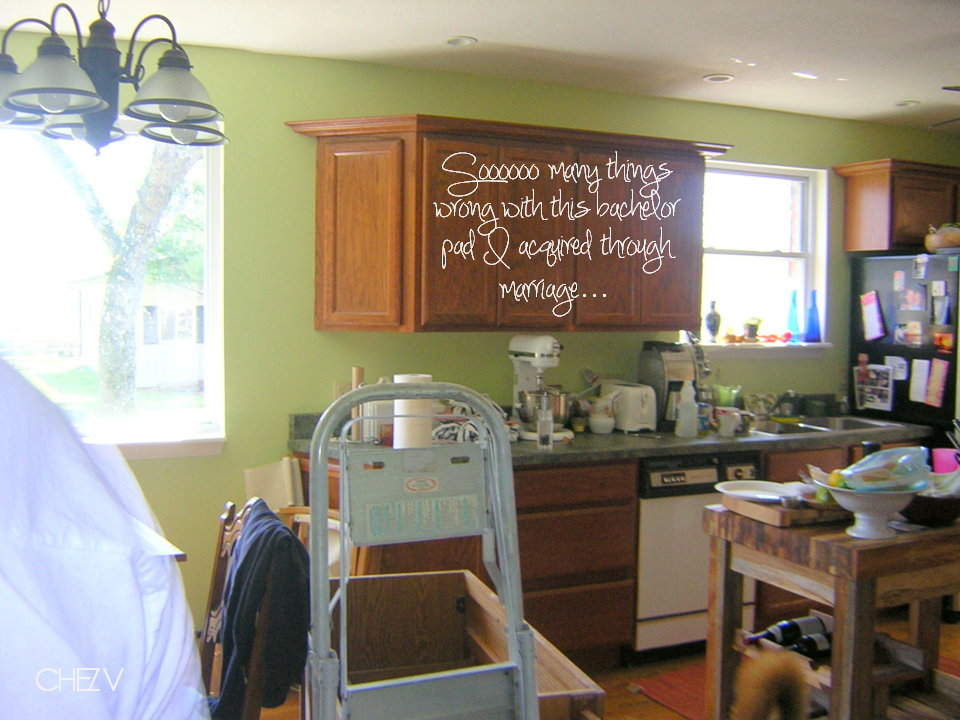
stages, starting with the tragic browntown bachelor phase. At least my mister had enough good sense to enlarge the
kitchen by removing an interior wall that created a separate tiny dining area
from the kitchen and reconfigured the layout to a galley
kitchen. Too bad his choice of materials
was predominantly brown. Why do men refuse to paint cabinetry? So I battled bachelor browntown with
some decidely feminine and rather hysterical choices that all
amounted to a lipsmacked pig. Finally,
after waging a 4 yr War of the Vs, the mister finally let me paint those
cabinets. Let’s take a look and just get
this awkward intimacy phase over with…



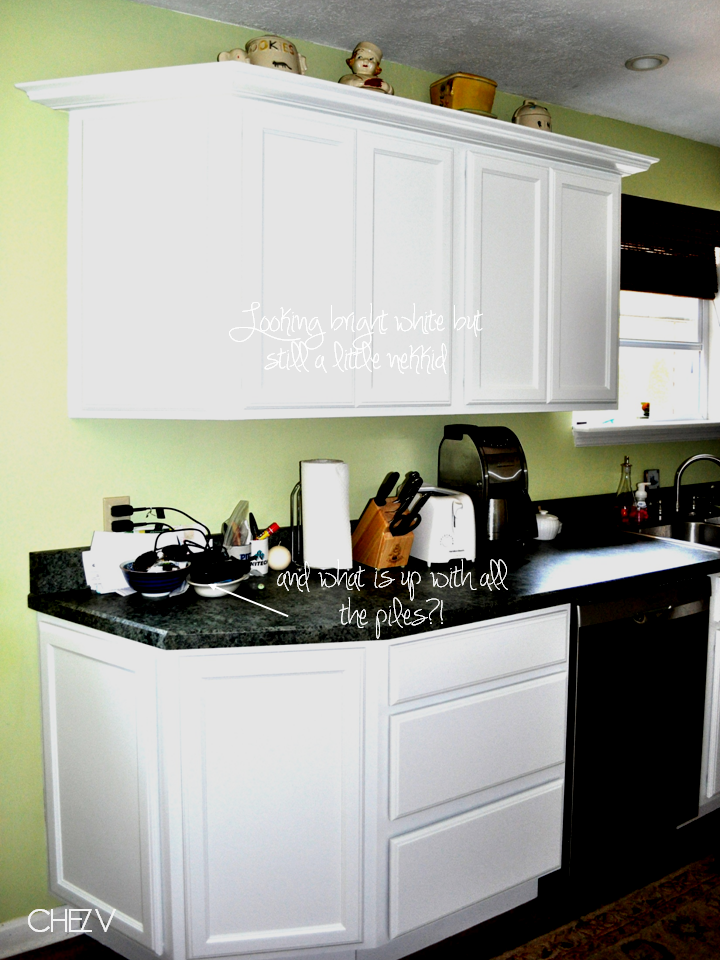
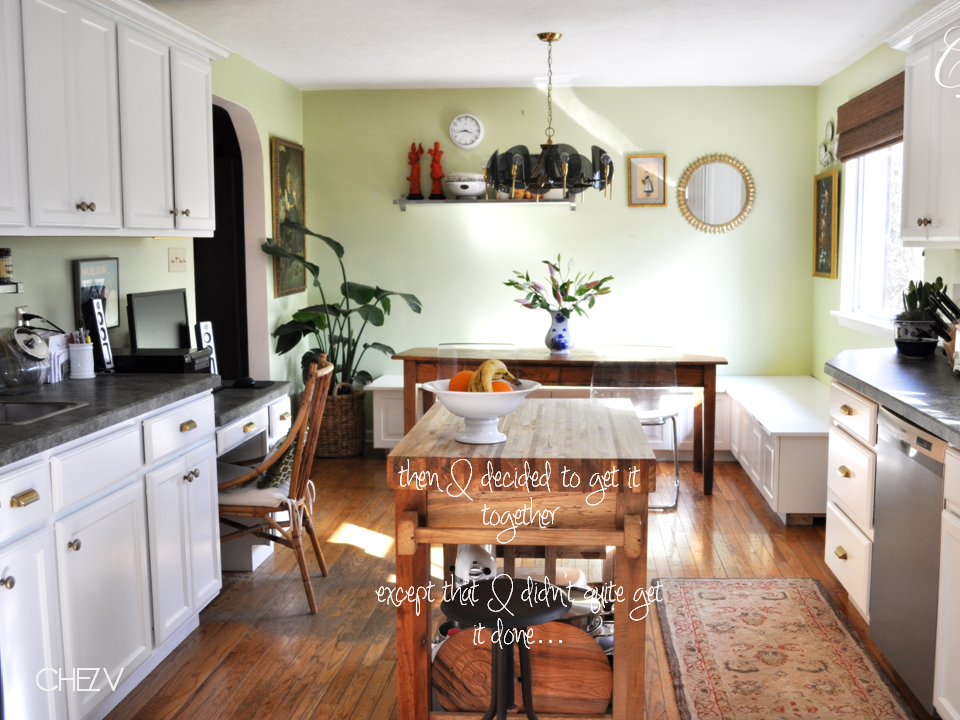


So to recap, browntown, Johnny Cashville, the land of too many tables and dishes on the wall,
working girl co-op, bright cabinets big city, deluxe banquette in the sky sans
the doorman and the super. That pretty much brings us up to current 'before' state. Now let's get some stuff done, m'kay?
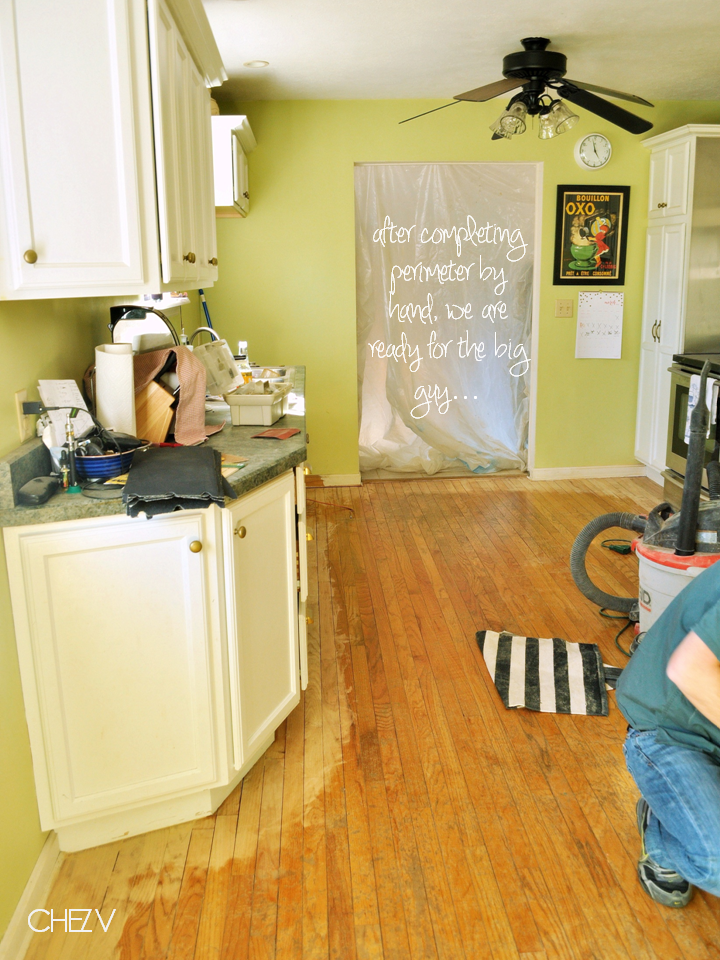
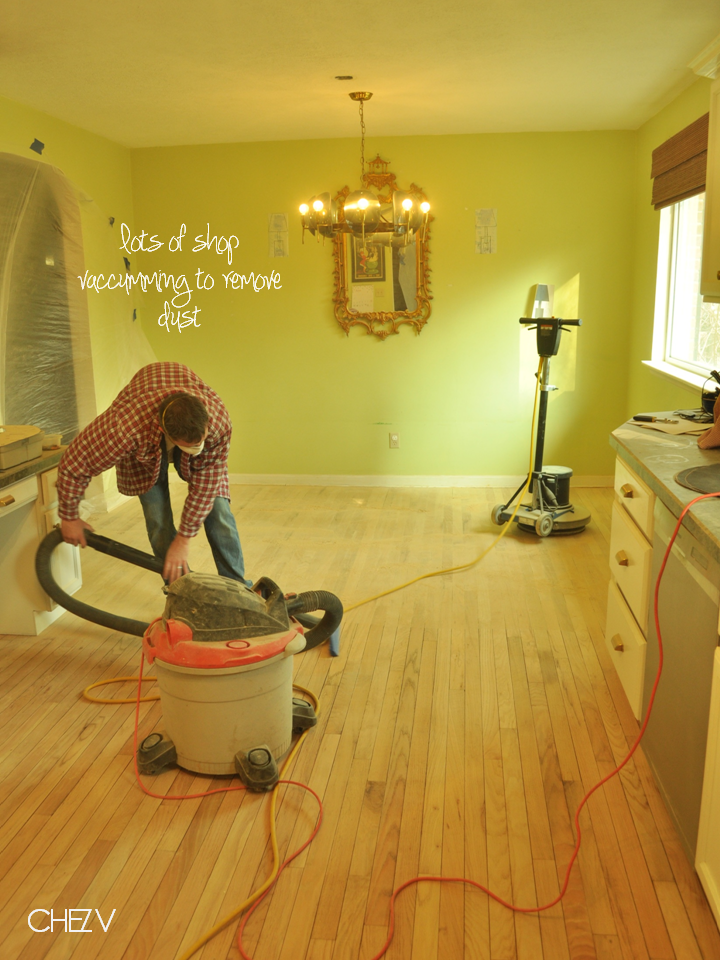
As to progress, we removed everything from the kitchen
and attacked the floors. These floors
are meaningful as they were taken out of my husband's family’s old farm house in which
he grew up. Go here for a little bit
about that story. But they were showing
some serious wear after 9 years so it was time for a refinish. What a nightmare to refinish your own
floors. As if I didn’t ingest
enough dust from my bedroom redo. But
hey, if you can wield a hand sander and are willing to watch a few youtube videos
on handling the bigger floor sanders, then you too can do it. We rented the big sanders from Cincy Tool Rental, where we rent most of our bigger equipment, and I purchased my stain
and polyurethane from my local Sherwin Williams store. Both places were super helpful throughout the process with expert advice and tips. I’ll let the pictures tell this part of the story. Let me know if you guys are interested in a
more detailed rundown of the process.




 |
| photo courtesy of Amy Elisabeth Photography |
 |
| photo courtesy of Amy Elisabeth Photography |

And then I forgot to take a picture of the floor after it was polyurethaned. What is wrong with me?!


So let's recap my progress...

Well, there you have it for this week’s ORC update. Now go check in with everyone else for their updates.
A special thank you to the following sponsors and supporters of Chez V and The One Room Challenge that are graciously providing items to help me bring my vision for this room to life:
Love ya, mean it.
All photos and styling by Emily Vanderputten unless otherwise noted
kisses, mrs. V
