Showing posts with label acrylic tray. Show all posts

8.07.2012

Monogrammed Blue Ikat Acrylic Box


Acrylic Tray-a-nator 3000 – Part 4ish

Remember my mad acrylic tray frenzy?  See here, here, and here.  Well, as with most of my frenzies, I amassed a good chunk of supplies in anticipation of a Thneed-like production of acrylic goodness.  Trays, boxes, and containers of all sorts of sizes.  Brilliant papers from Paper Mojo and some of my own paper creations.  I made a few for myself and a few to be given as gifts but I was never satisfied with my adhesive element so I set the stuff aside and conceded victory to those smart suckers who dreamed up customized inserts topped by another layer of lucite – no adhesion necessary.  Smart, smart, smart.  The supplies were stashed and promptly forgotten about.


But I am a sucker for a challenge and I found my acrylic stash in the avalanche  closet while madly searching for an errant shoe.  I immediately abandoned the shoe search when I discovered the perfect little lidded storage box.  It was screaming to be personalized.  My plans for the grocery were quickly forgotten. Navy and coral have been on the brain lately so I jumped on the computer and whipped up a little ikat-like pattern obviously inspired by Schumacher’s Kerala print.


And there you have it.  I plan to store some of my sparkly bits in here but this thing is perfect for storing office thingamadoodles or keys or the unending bobs of paper receipts and change that spring forth from mr. V's pockets.


I am in a purging state of mind.  Thinking about a giveaway involving some of these extry supplies.  What say you?  Would you be interested?

All  photos and layouts by mrs. V.
kisses, mrs. V


5.04.2012

Stump Planters for Sale! And a Chinoiserie Acrylic Tray


Stump Planters or Where I Tried to Cut my Fingers Off


Stump Planter update:  These bad boys are much harder to make than I ever anticipated.  And time consuming.  I have huge admiration for my mother-in-law who is wholly unafraid of super sharp spinny power tools that cut off fingers if you look at them sideways.  I was shredded into a wood chip mess just hollowing out one of these tree stumps and I was terrified the entire time.

 
I am much better suited to frippery and finesse which means I much prefer the light sanding aspects, sealing, and planting.  Which is to say, I much prefer to be the granny opening the donuts as opposed to the one making the pancakes and trying to catch cigarette ash with her turner.

please ignore the dirty glass top - impossible to keep clean with a 3 yr old!

I am not even joking that most of the elder men in mr. V's family, having a predilection for wood working, are missing part of a finger or two.  The German and the Dutch are some bad ass mo fo's.


That being said, I have 5 of these super awesome and totally one-of-kind Stump Planters available for purchase.  Local (Cincy/Dayton/NKY areas)  purchases are obviously easiest but I can inquire as to shipping costs for anyone who simply must have one or 5 of these awesome sauce things!  Each one is totally unique with natural splits.  The inside is lined with copper and the outside has a light seal to make it weather resistant.  But like all wood, will decompose over time if left out in the elements.  All the wood came from fallen trees on my MIL's property.

I call him Frodo and he is my fav - I will have a hard time parting with him!


So many possibilities with these bad boys.  Last Spring we took 2 to the local nursery to fill with succulents for a charity auction and the owner  went nuts!  Succulents are perfect for these because of the shallow depth and look very cool and they are all the rage right now.  Mother's Day is around the corner.  Fill one with a Maiden Hair fern or moss for a softer look!

This is pre-sealer so the color is lighter


Email me if you are interested.  For you, my faithful readers, they are $300 here for a limited time.  Once they hit Etsy they will be higher given the labor and workmanship involved to make one.  First email first serve, so to speak.  And if you are local and lazy and a procrastinator, I can even plant it for you!  $350 for a planted container.

Approx 8 x 13 acrylic tray - $50 plus shipping


ps - I have one of these chinoiserie acrylic trays for sale as well.  Perfect Mother's Day gift.  Email me.

looks good with baubles too!


kisses, mrs. V


2.28.2012

Tales From the Projects - another DIY acrylic tray


Acrylic Tray–a-nator 3000 - part deux
Took another whack at the trays.  This go round I began by using spray adhesive in place of the Mod Podge.  It should be noted that mr. V asserted that this method would not work either.  But I had high hopes that a fine spray would not give me those pesky little air pockets.  Epic fail.  The spray adhesive was a nightmare and saturated through the paper leaving an oily looking mess.  I was so crushed I didn’t even take a snappy Q.


I went back to the drawing board.  I hacked.  I poked.  I used different papers and I am much happier with this result.  Although it is not perfect - there are still a few air pockets – there are considerably less than the first time.


This tray is a birthday present for my mother.  Hope she digs it.  I, for one, am in love with this chinoiserie type pattern.


In other project news, I finished this bell-shaped hurricane over the weekend for one of my clients.  And I am over the moon to be helping my dear, dear cousin with a stationary order for her bosses.

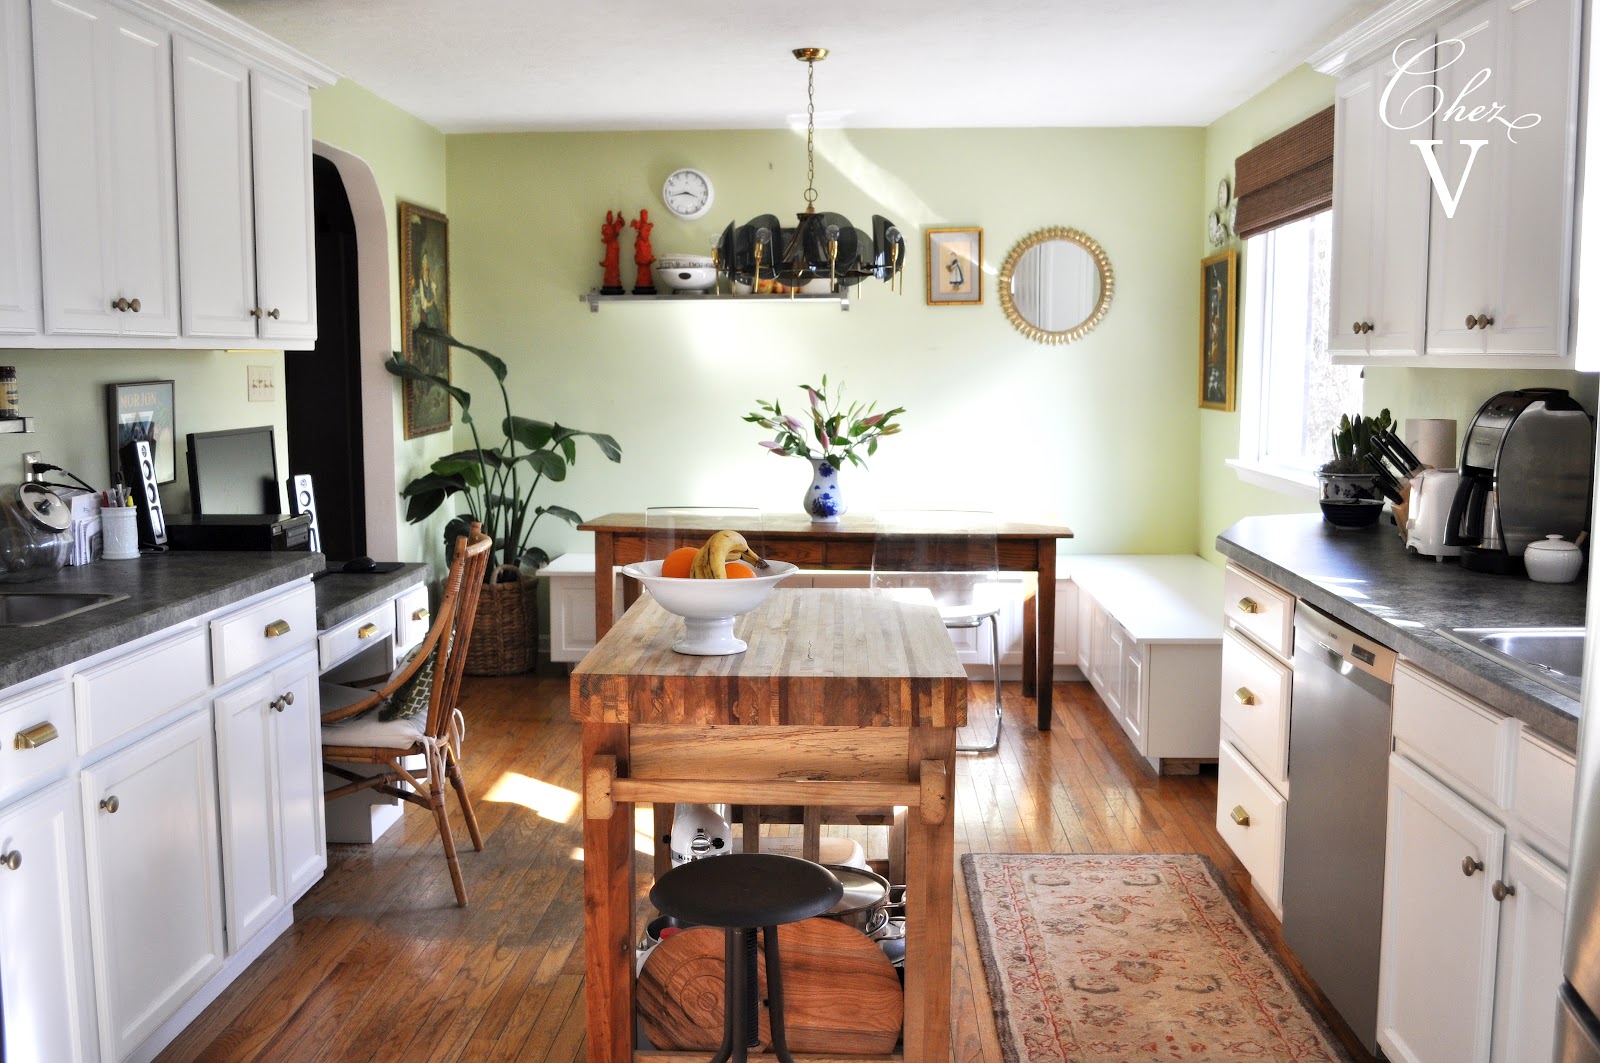
And last but not least, since this is a place of accountability, I am sharing this BEFORE picture of our kitchen. Well, it is technically, MID-PROJECT, but before we finish up the banquette cushions, window treatments, re-finish the floors, and fingers crossed, a supercalifab situation for that wall.


Ignore the Ikea shelf and random placement of the art and mirror.  These are the remnants from a previous incarnation of the kitchen.
kisses,  mrs. V

2.23.2012

Real Life at Chez V - acrylic trays, sewing box cushions and branding


Because mrs. V  is a Writer, Now!

We interrupt our regularly scheduled programming to bring you Magic Marker Monster.  While I was busy editing another post, this was happening behind me and well, I just can never resist my monster…


Also up to my eyeballs in various projects.  More details later but just know that we have been ripping up a lot of seams – turns out making HUGE box cushions is a little more involved than just sewing four pieces of fabric together.  Still trying to perfect those trays and a little branding is also happening around these parts.


Sheesh…being a very serious writer/tastemaker is also a little more involved than just typing out my insane interior monologues.  I have taken to puffing out my chest with a rather self-important huff, and declaring, not now mr. V, I am writing! Pretty sure I am going to start wearing a monocle.

Because, if I am being honest, as it turns out, blogging is a real commitment and we all know how great I am with commitment.  Sitting down every day to come up with interestingly honest and entertaining bits is tough.  I have a better appreciation for real writers and journalists.  Shout out to you, the other mrs. V!
kisses,  mrs. V

1.20.2012

DIY Acrylic Tray


the Acrylic Tray-a-nator 3000

This is the start of a semi-regular series where I attempt a supercalifab project that I have likely seen elsewhere.
 
So ya’ll know those super awesome and super expensive lucite trays that are all over the place right now.  I have been lusting for one for some time but they are just too spendy.

Imagine my glee when I discovered a DIY version on Pinterest.  And then I discovered a new-to-me blog Sanity Fair that I am loving right now.  I love when that happens.  A lot like falling down the rabbit hole into a new wonderland of inspiration!  Check her out and her how-to.

This is SFs fab DIY tray

And here is mine.  Although easy enough, I should say I am not totally satisfied with my results.  I made two attempts.  The first one I made my own patterned paper (I will talk about in a follow-up post) and the second I used a heavier wrapping paper.


Blocked out our address


Looks great from a distance but if you look up close you can see pockets where the ModPodge didn't totally adhere.  I thought this was because this paper was not thick enough.  But I got the same results on the second tray using much heavier wrapping paper.  Next time I think I will use a spray adhesive to see if it yields cleaner results.

second tray using wrapping paper - blocked out address

If you look closely on the inside of the blue box you can see those air pockets.  Boo.  Will try these again and let ya know...

kisses,  mrs. V